Types of Excavators: Understanding Track and Wheel Before Choosing a Unit

JML Journal · Equipment education

Types of Excavators: Understanding Track and Wheel Before Choosing a Unit

Understand the track and wheel difference to select the right excavator for your site’s ground, weather, and inter-area mobility. A practical worksheet helps structure supplier discussions in Jabodetabek.
JML Group
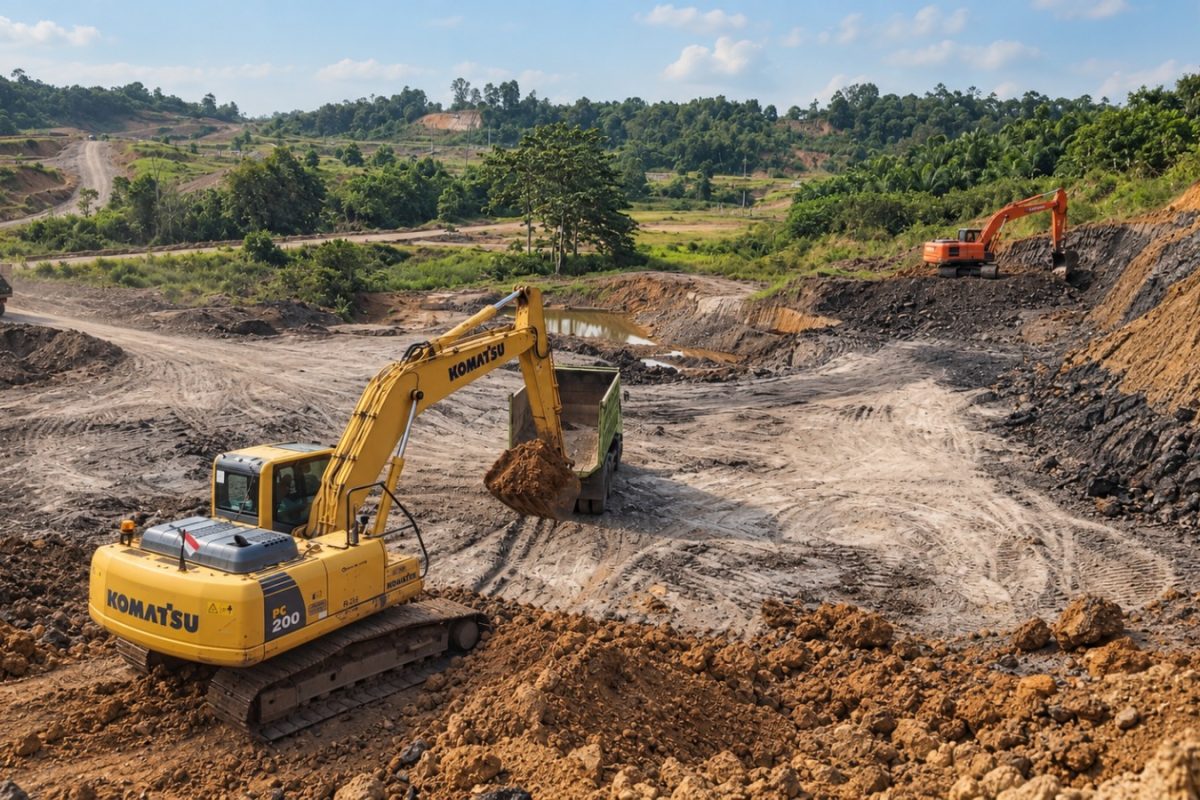
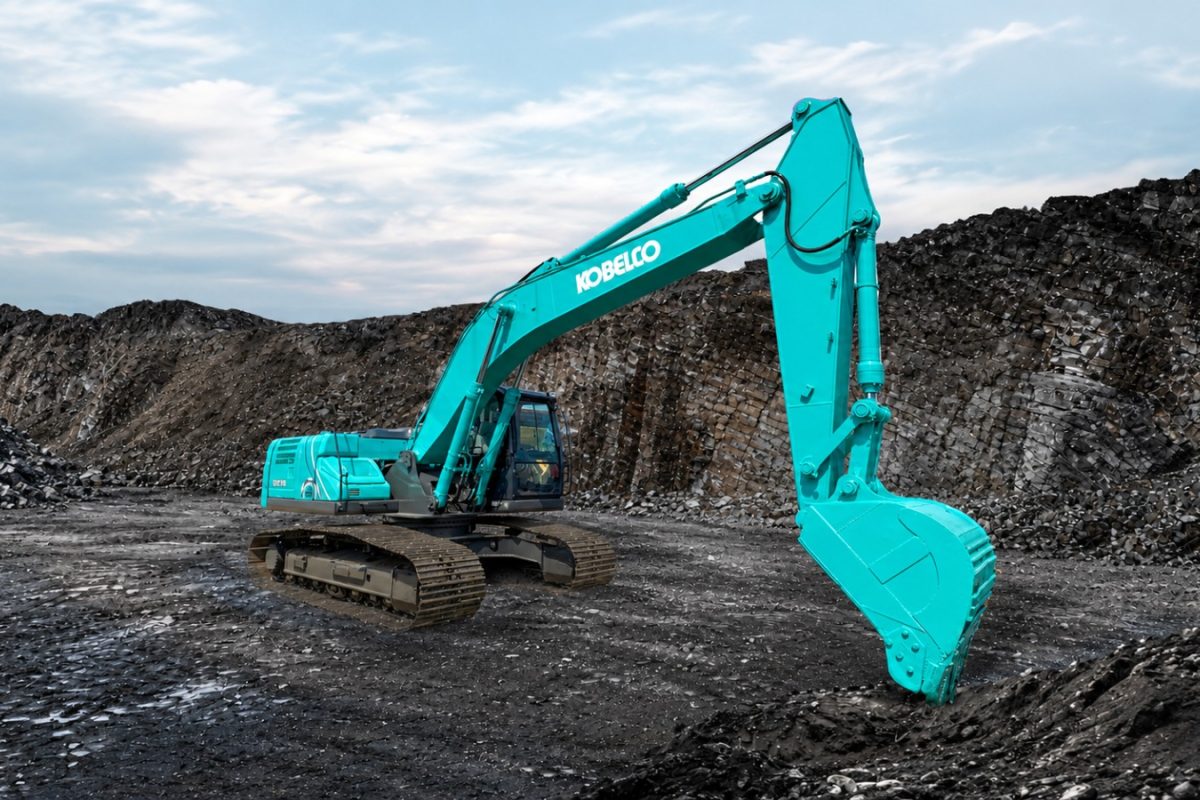
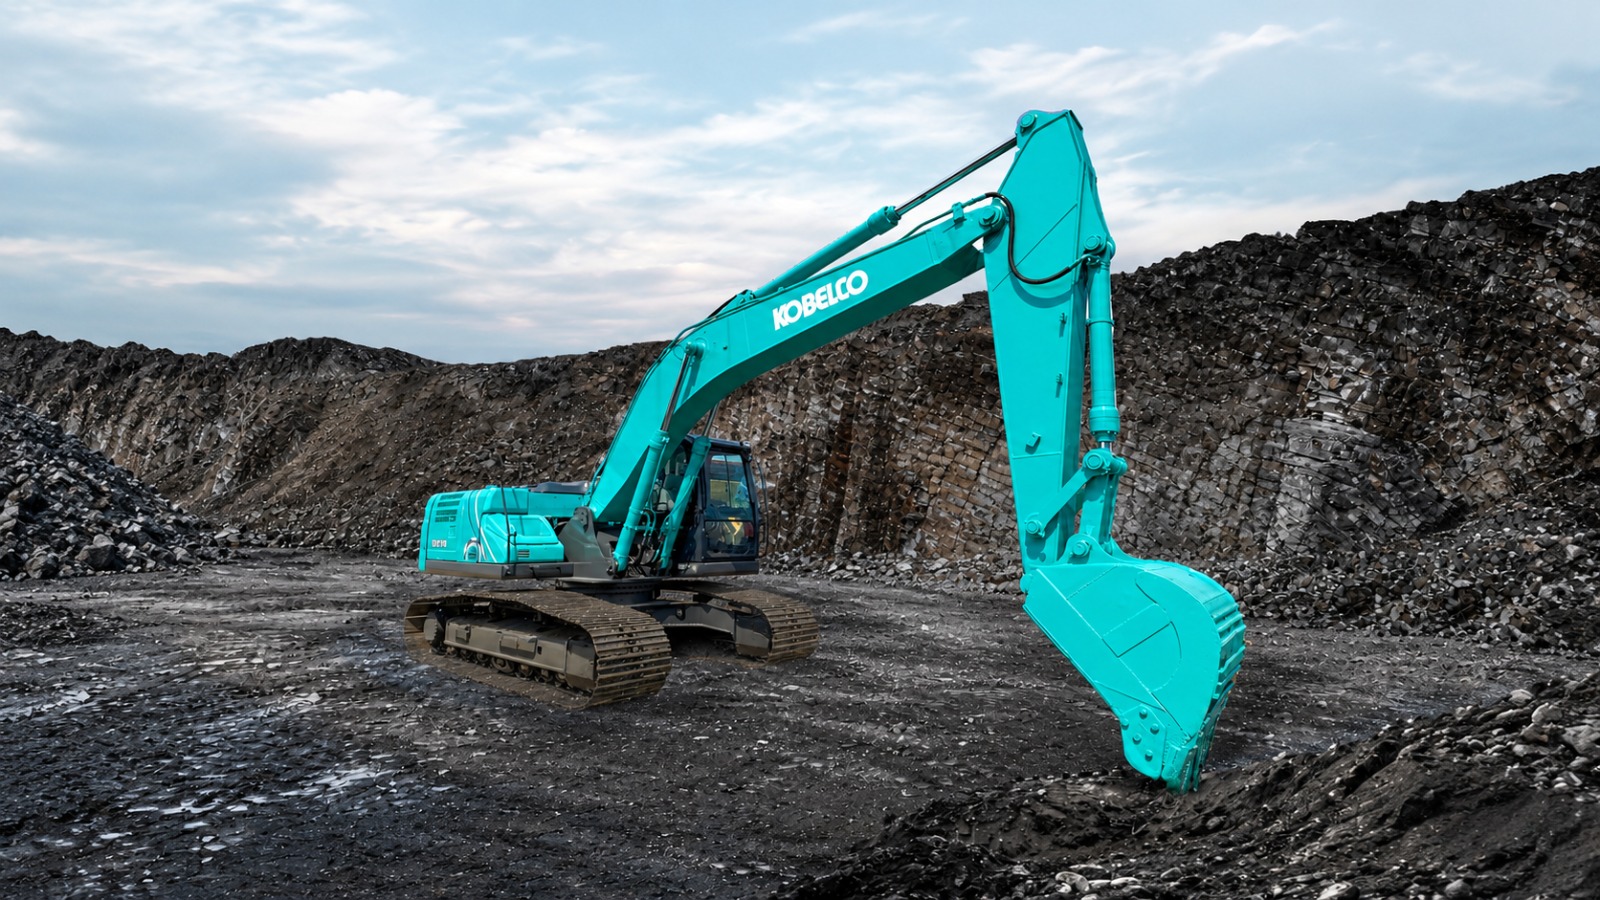
Excavator with a bucket in a material area.
Illustration of an excavator with a bucket in a material area.
Text size

Understanding excavator types can make a big difference when preparing for your project’s equipment discussion in Jabodetabek. This article clarifies track and wheel characteristics so you can accurately prepare site notes—instead of relying on equipment names or appearances. The focus is on undercarriage features and questions for suppliers, not bucket selection, initial inspection, productivity logging, or general equipment selection.

Key distinction: track versus wheel

According to manufacturer sources, jobsite ground conditions and weather directly impact whether a track or wheel excavator may fit best. Tracks spread weight for greater stability on soft or uneven surfaces, while wheels offer superior mobility on compact, firm ground surfaces [CAT-TRACK-WHEEL].

Questions for tracked units

  • What specific ground conditions have been reviewed by the supplier onsite?
  • How does the actual unit match both the project location and expected tasks?
  • What access details need clarification before discussing delivery or movement?
  • Who is responsible for confirming use limits based on documentation and field assessment?

Questions for wheeled units

  • What is the real condition of routes between working zones?
  • Which parts of the jobsite require closer joint review with the supplier?
  • Have mobility and unit movement needs been explained clearly to all parties?
  • What unit documentation or site info still needs collecting before making a choice?

Preparing for discussion with your equipment supplier

Before you meet with suppliers, several questions about jobsite and mobility requirements should be raised. The worksheet below helps structure your approach so your discussion leads to the most appropriate unit.

Excavator Track and Wheel Discussion Worksheet
Aspect to discussTracked unit infoWheeled unit infoSite notes and confirmations
Reviewed ground surfaces
Weather and jobsite conditions at survey
Need to relocate between work areas
Access in and out of worksite
Unit identity and supporting paperwork
Questions raised and confirming party

You can print or reuse this worksheet before every site meeting. In the “Site notes” section, project teams can record surface findings, access observations, or recent weather notes. This information becomes essential for matching an excavator to real requirements—rather than perceptions or generic advice.

Illustration and worksheet in use

The attached photo is an illustration of a tracked excavator—this is not a Cat model or a wheel excavator, and offers no specification or measurement evidence.

This comparison supports objective planning and clear communication. Always keep open dialogue with equipment providers, include every note on your worksheet, and communicate access, weather, and distribution plans for the Jabodetabek area for optimum synergy between equipment and work condition.

Reference: Ground and weather influence on track and wheel choice adapted from [CAT-TRACK-WHEEL]. Not every site suits wheels or tracks without new assessment, and no undercarriage type is guaranteed to be always best.


References

Bucket excavator: selecting for material and job requirements

JML Journal · Equipment education

Bucket excavator: selecting for material and job requirements

Learn how to discuss bucket excavator selection by considering material characteristics, main tasks, and equipment compatibility. Includes a selection worksheet and key questions for an equipment specialist.

JML Group
Excavator with a bucket in a material area.
Illustration of an excavator with a bucket in a material area.
Text size

Choosing the right bucket for an excavator involves far more than simply picking the largest available. The ideal selection starts with understanding the characteristics of the material and the type of job at hand, not just the bucket’s size. Relying on size alone can lead to reduced efficiency, premature equipment wear, or mismatches with the main machine or other attachments. Below are practical steps to structure a useful bucket selection discussion before beginning a project in Jabodetabek.

Why bucket size should never be the only factor

It is common to assume a larger bucket will complete work more quickly. However, in practice, a bigger bucket may not suit materials such as sticky wet clay, solid rock, or dense aggregate. Heavy or challenging materials require a different approach than light ones, since extra weight can put excessive stress on the excavator or cause attachments to underperform. This is why discussions always begin with the material type and the project’s main application before narrowing down the choice of bucket design or size. Source: Caterpillar [CAT-BUCKET]

Key questions before choosing a bucket

  • What are the primary characteristics of the material to be handled or excavated? (e.g., hardness, stickiness, moisture, rock content)
  • Is the job more focused on loading, digging, transporting, relocating, or a combination?
  • Are there specific requirements for feeding vehicles—like dump trucks, loaders, or transfer equipment?
  • Does this bucket match the available excavator and its attachments?
  • Is there a need for any special modifications or accessories (like teeth, side cutters, or wear plates)?

Guiding discussion with an equipment specialist

Invite conversations with equipment specialists or vendors whenever possible. Topics should include:

  • Material analysis: Identify physical properties of the dominant on-site materials, such as density and abrasiveness.
  • Application match: Confirm the selected bucket fits the planned work pattern and daily productivity targets.
  • Equipment compatibility: Ask if the proposed bucket’s connections are suitable for existing excavators and future attachments.
  • Production adjustment: Will the planned bucket and excavator setup meet site production goals and cycle times?

Do not assume the bucket used on a previous project will fit this one, as differences in materials, available dump trucks, or project methods frequently require a unique selection. Always open new discussions at the start of each project.

Blank worksheet – preparing to select an excavator bucket

Sample worksheet for guiding your bucket selection discussion
AspectNotes/Discussion Steps
Material Type
Material Characteristics (Hard/Soft/Wet/Rocky)
Main Application (ex: loading, digging)
Compatibility with Dump Truck/Loader
Match with Excavator
Special Attachment Needed?
Other Notes

Practical interpretation notes and limitations

Be sure that details in your worksheet reflect the actual, specific conditions of your site—not generic or past assumptions. Confirm any changes in material, working method, or equipment with a technical specialist before making a decision. Remember, there is no universal standard for every project: direct discussions and site-ready evaluation remain top priorities. Avoid choosing a bucket based solely on references, bucket size, or advice that does not specifically review your project’s material and job needs.

References

Ilustrasi motor grader kuning di lokasi konstruksi dengan bahan bakar di bagian depan gambar.

Understanding the Motor Grader’s Role: The Moldboard and Surface Shaping

JML Journal · Equipment education

Understanding the Motor Grader’s Role: The Moldboard and Surface Shaping

Explore the motor grader’s core task of shaping surfaces with its central blade. Use this guide to plan grading work requests, define surface needs, and clarify the acceptance standard, while recognizing that grading alone does not certify density or engineering precision.

JML Group
Motor grader at a construction site.
Motor grader illustration at a construction site; the photo does not establish grading results or machine specifications.
Text size

A motor grader is a key piece of equipment in road construction and earthmoving projects. Its moldboard, often called the main blade, is designed to cut, move, and shape surface material as specified in a project’s requirements. The shape and position of the blade are selected by the operator according to the type of material encountered and the surface finish desired for the job.[CAT-GRADER]

The Moldboard’s Function in Grading

The moldboard does the work of cutting and drifting material to where it is needed. Its configuration is chosen based on both the current surface material—soil, aggregate, or mixes—and the finish or slope required. For some projects, the surface may need a particular grade or camber, such as for drainage or roadway contours. Road maintenance and fine grading tasks, while both requiring the grader, actually differ in the precision and outcome expected: maintenance usually aims to restore surface shape, while fine grading prepares the base layer before subsequent construction steps. Both rely on achieving the specified contour and thickness per project drawings.[CAT-GRADER]

Preparing a Grading Request: What to Specify?

If you are not an equipment operator but need to request grading work, clear communication helps ensure a satisfactory outcome. Include these key items in your job request or plan:

  • Location: Clearly identify the area for grading, including starting and end points, and any edge boundaries.
  • Current surface condition: Describe what is present—native soil, compacted fill, old aggregate, or deteriorated asphalt.
  • Material and end result: Name the surface finish material (such as aggregate or engineered fill), and specify the desired shape—for example, flat for hardstand, sloped for runoff, or a cambered road bed.
  • Drawings or sketches: Attach site layouts and cross-sections to help define required elevations and contours.
  • Result acceptance method: State how supervisors or inspectors will verify completion. Will it be by visual appearance, measurement of grade, or another standard?

It’s crucial to understand: comprehensive grading documentation should focus on surface form and material. Using a grader alone does not guarantee the surface will meet compaction or strength standards; separate engineering tests or density checks are required to confirm those aspects.[CAT-GRADER]

Interpreting Grading Results: What a Grader Does and Does Not Prove

The finished work by a motor grader shapes the surface but does not, by itself, certify compliance with engineering parameters such as maximum density or precise elevation tolerance. The grader is a shaping tool, not a final measurement or testing device for base thickness, soil strength, or layer stability.

When preparing your request, consider including notes such as:

  • Who will be responsible for verifying any additional measurement or inspection, if needed.
  • The grader’s scope: it forms the physical surface, but does not test density, moisture, or laboratory characteristics.

Example: “Grading is deemed complete when the surface matches the specified shape and contour on the plans; if further slope verification is required, it will be the field supervisor’s responsibility.”

Summary: The Motor Grader as a Surface Shaping Tool

The motor grader’s moldboard plays a vital role in achieving the desired ground shape in construction. For effective outcomes, ensure grading requests clearly state locations, initial conditions, final shapes, and acceptance criteria. Recognize that while the grader delivers accurately shaped surfaces, compaction and technical compliance must be addressed separately through additional documentation and checks.[CAT-GRADER]

References

Excavator memuat tanah ke dump truck di area pekerjaan tanah

Excavator Productivity: Building a Reliable Field Observation Log

JML Journal · Equipment education

Excavator Productivity: Building a Reliable Field Observation Log

Learn how to record excavator productivity on site—covering work output, cycle notes, equipment and attachment identity, and the importance of matching loader and hauler. The key is structured, consistent logging—not a fixed number or universal production rate.

JML Group
Excavator with a bucket in a material area.
Illustration of an excavator with a bucket in a material area.
Text size

Excavator productivity is a common topic on construction projects—whether in planning or field evaluation. However, productivity is not simply a standard figure or a universal equation. Instead, it describes how much completed output an excavator delivers within a defined period given the specific site conditions and assigned task. Here is a practical guide to building a consistent and reliable field log for excavator productivity.

Steps to Create a Field Observation Log

  • Define the task and material type
    Start your record by specifying the observed activity—such as digging loose soil, loading material into dump trucks, or stockpiling. The type of material (soil, sand, stone) will impact the cycle time and finished output. This note also guides the selection of the right attachment, such as a suitable bucket, matched to both the site and the application [CAT-ATTACH].
  • Enter the machine and attachment identity
    Record the identity of the excavator—make, type, or internal unit number. Include specifics of the attachment used. This ensures that when machines or attachments are swapped, your logs remain consistent and comparable throughout the project.
  • Specify the observation window
    Clearly set the observation period; for instance, one effective working hour or a period from a particular clock time until a task step completes. Always record the period accurately so your log can later be verified or compared.
  • Note completed output in a consistent unit
    Examples include full truckloads delivered or material stockpiled in cubic units when known. Use the same unit type consistently to ensure data remains comparable over time. Avoid mixing different output measurements in a single log.
  • Record actual working time and waiting time
    Separate the period when the machine is truly working (digging, moving, dumping) from any waiting periods—such as when trucks are not ready or delays occur between cycles. This distinction helps identify bottlenecks or delays in your operation [CAT-HAUL].
  • Include cycle-time notes where possible
    If feasible, add remarks on the time required for one complete task cycle: from grabbing material, swinging, dumping, and the return to the original position. Cycle duration will vary with soil conditions, attachment match, and hauler readiness.

Understanding Productivity in the Field

In essence, productivity means describing finished output achieved within a measured effective work period. For instance, how much material is moved in one active hour. But it is important to note that a single number cannot represent all projects or situations. Many factors affect results: type of material, site layout, attachment fit, operator skill, weather, and how well your hauler is matched to your loader [CAT-HAUL][CAT-ATTACH].

Be sure to distinguish clearly between a record based on actual field observation and a plan made in the office. Actual field records show what happened under real project conditions, while productivity plans are only estimates made before real variables come into play. A well-kept log creates the link between what is planned and what actually happens in the field.

The Importance of Loader and Hauler Matching

When loading and hauling are combined, matching the capacity of the excavator and the hauling unit (such as a dump truck) is crucial [CAT-HAUL]. If the loader outpaces the available trucks, the excavator will spend much time waiting. If the hauler is too large for the loader, cycles become slow and completed output per period falls. Matching buckets and trucks supports smoother operations, so the productivity you record should reflect the whole system, not one machine on its own.

Simple Field Log Format for Productivity Tracking

Sample field productivity log (without numeric fill-in)
DescriptionNotes
Date and Observation Time___________
Location___________
Operator Name___________
Material Type___________
Task/Application___________
Excavator Identity___________
Attachment Type___________
Observation Period___________
Completed Output (consistent unit)___________
Working Time___________
Waiting Time___________
Cycle Notes (if taken)___________
Special Notes (weather, queues, etc.)___________

Conclusion

The best measure of excavator productivity is a consistently structured observation log. Focus your records on field facts: what the task was, when it was done, which equipment and attachment were used, and what was actually completed during a specific period. Include both effective working time and any waiting, as these are key for overall system evaluation. Equipment comparisons should focus on the loader-hauler match [CAT-HAUL]—not a generic hourly output figure. By maintaining clear, practical field logs, you have a defensible reference for future planning and evaluation in Jabodetabek or any other project site.

References

Dump truck capacity: know the difference between body volume and payload limit

JML Journal · Equipment education

Dump truck capacity: know the difference between body volume and payload limit

Understand the difference between dump truck body volume and payload limit. Learn how to accurately identify truck capacity for Jabodetabek projects with a practical checking worksheet.

JML Group
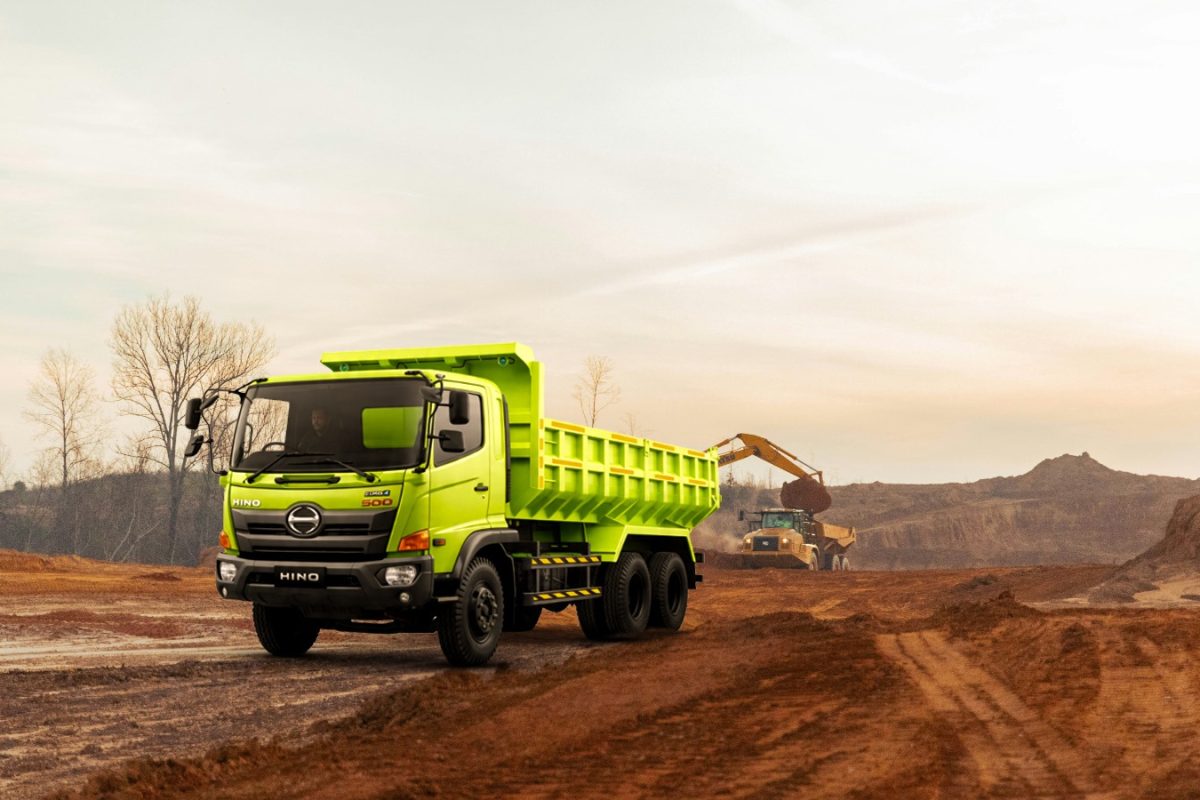
Dump truck with its body lowered in an earthworks area.
Dump truck illustration; body capacity and payload limits are checked against the machine specifications.
Text size

Understanding dump truck body volume and payload limit

When it comes to dump truck capacity, the terms volume and weight often get used interchangeably. However, they are two distinct aspects, both critically important in equipment planning and operation for construction sites—especially in busy regions like Jabodetabek. Knowing the difference ensures safety, compliance, and efficient site logistics.

Body volume: measuring available hauling space

Body volume describes the amount of space available in a dump truck’s body to hold materials. This is usually referred to in cubic or liter units. It tells you how much material could physically fit inside the truck—if you filled the body entirely, regardless of the type or density of the load. Manufacturers list body volume as a separate specification from the payload in official documents [CAT-BODY].

Payload limit: maximum legal and safe carrying weight

The payload limit is the maximum weight a dump truck is rated to carry, as recommended by the manufacturer. This figure reflects the safe working limit, taking into account the structural strength, braking system, safety, and current regulations. Manufacturers always clearly differentiate body volume and payload limit; exceeding the weight limit poses risks of damage, safety incidents, or legal violations [CAT-BODY].

Why separating volume and weight matters

  • Volume and weight are not directly proportional. For instance, lightweight materials like dry soil may fill the entire body without reaching the payload. Conversely, heavy materials like rock can hit the weight limit before the body seems full.
  • Estimating by appearance is misleading. You cannot accurately determine capacity by looking at the truck, counting loader buckets, or viewing a photograph. Only the manufacturer’s specification and actual on-site weighing provide reliable information [CAT-HAUL].
  • Safe and efficient operations match both criteria. Achieving optimum production and safety means loading dump trucks according to both their weight and volume limits, factoring in the specific material and onsite conditions [CAT-HAUL].

Practical worksheet: checking dump truck capacity onsite

Use the following worksheet before operating or booking a dump truck, to ensure you’re working with the actual capacity suitable for your project and site requirements in Greater Jakarta.

Dump Truck Capacity Check Worksheet
StepNotes
Identify the dump truck typeRequest the official manufacturer or supplier document specifying the model and type.
Record the body volumeObtain the body volume from the technical datasheet provided by the manufacturer. Never guess from body size or photos.
Record the payload (weight limit)Ask for the official payload limit from the manufacturer’s specification, clearly separated from body volume.
Determine the type of material to be transportedFind out the bulk density of your material. Different materials will affect how much can be loaded by weight, even if the body is not full.
Check actual weighing dataUse onsite scales to record real load weights every time the dump truck is filled—do not rely on visual estimates.
Assess site access conditionsReview road width, pavement strength, slopes, and legal load limits to ensure safe entry and exit for the truck.

Key questions to ask your dump truck supplier

  • What is the manufacturer-stated body volume?
  • What is the official payload (maximum weight) for this truck?
  • What type of materials are typically transported with this dump truck?
  • Is there weighing data from previous projects?
  • What are the access conditions to and from my project site?

Conclusion: there is no universal standard

Choose your dump truck based on the combination of official body volume, payload limit, material properties, and site access. Never estimate capacity from physical size, loader buckets, or a general impression. Always refer to manufacturer documents and record actual weights for each job to ensure both safety and productivity [CAT-HAUL][CAT-BODY].

References

Understanding the function of vibro rollers: distinguishing drums and compaction tasks

JML Journal · Equipment education

Understanding the function of vibro rollers: distinguishing drums and compaction tasks

Learn the function of vibro rollers and distinguish smooth drum, padfoot drum, and tandem asphalt rollers. Practical guide for identifying equipment and preparing project briefs before consulting a compaction specialist in Jabodetabek.

JML Group
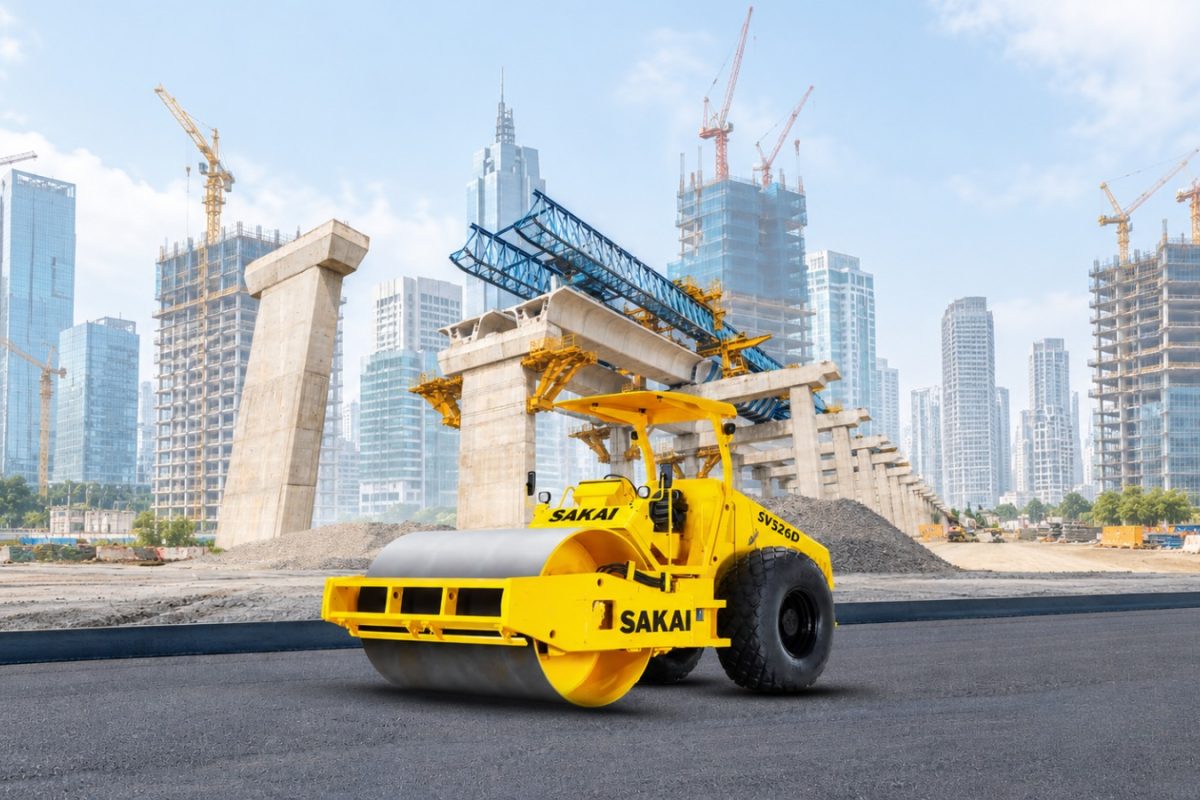
Single-drum roller with a smooth drum and rear tyres.
Illustration of a single-drum roller with a smooth drum.
Text size

Vibro rollers, also known as vibratory rollers, are essential equipment in construction for compacting soil, aggregate layers, and asphalt. Recognizing drum types and their designated uses helps professionals in Jabodetabek effectively identify project needs before consulting a compaction specialist. This practical guide explains the main functions, common drum configurations, and how to prepare project information for further discussion.

What is the function of a vibro roller?

The core function of a vibratory roller is to compact ground or layer materials. Manufacturers categorize machines with a single drum for soil compaction, while tandem configurations serve primarily asphalt compaction. The purpose of this article is to help you identify the main types of rollers and gather pertinent project information. It does not recommend operational settings or guarantee compaction results [BOMAG-SOIL][BOMAG-ASPHALT].

Identifying vibro roller drum types

Recognizing the drum type is a key step to ensure the right equipment is chosen for the job:

  • Smooth drum – This type is marked by its plain, smooth-surfaced drum. Smooth drum rollers are commonly referenced within equipment groups dedicated to soil work. Always note the actual project material to discuss with a compaction specialist; drum shape alone does not conclusively determine suitability [BOMAG-SOIL].
  • Padfoot drum – Padfoot, also called sheep foot or segmented drum, features protrusions along its surface. The presence of padfoot segments should be recorded when identifying units. While some models allow for a padfoot shell kit to be fitted over a smooth drum, not every machine can be converted [BOMAG-SOIL].
  • Tandem roller – Tandem rollers have both front and rear drums. They are listed as the primary configuration for asphalt compaction. Clearly describe the dual-drum configuration in your project brief without inferring compaction results from how the equipment appears [BOMAG-ASPHALT].

Main differences in drum application

  • In soil compaction briefs, record whether a machine has a smooth or padfoot drum [BOMAG-SOIL].
  • In asphalt jobs, document the configuration of front and rear drums if using a tandem roller [BOMAG-ASPHALT].
  • Be specific about which material is actually being compacted. Ask a specialist to confirm the unit and configuration, rather than matching equipment by name alone.

Preparing before consulting a compaction specialist

Before consulting a compaction supplier or professional, gather the following details to help streamline your discussions:

  • Type of material or layer to be compacted – Clarify whether the job involves soil, aggregate, base, or asphalt layers.
  • Area size and access conditions – Include any restrictions such as narrow roads, land contours, or low clearances affecting equipment mobilization.
  • Roller and drum configuration – Consider whether a single drum, tandem, or a combination is needed. Which drum type best matches your material?
  • Project testing and acceptance plan – Define which laboratory or field tests and standards must be met for acceptance, as set out in your project documentation.

Key points to remember

  • A surface that appears smooth after rolling—whether soil or asphalt—is not by itself confirmation of adequate compaction. Laboratory or in-situ tests are essential for verification.
  • Choice of drum and configuration must be discussed with a specialist, using accurate material descriptions and project requirements. Compaction performance should be verified by following the testing and acceptance plan, not by equipment selection alone.
  • Avoid setting technical operating parameters like speed, vibration, moisture level, layer thickness, or pass counts before consulting with experienced professionals. These settings depend on project specs, material conditions, and in-field trials.

Identifying drum types and understanding their application is a vital first step before a project begins. All further technical decisions should be made collaboratively with compaction experts or experienced heavy equipment operators in the field.

By understanding functions and drum differences of vibro rollers, you can prepare technical data, streamline project planning, and avoid specification errors before formalizing a compaction brief in Jabodetabek.

References

Ilustrasi motor grader kuning di lokasi konstruksi dengan bahan bakar di bagian depan gambar.

How to Measure Excavator Fuel Consumption and Calculate Estimated Cost

JML Journal · Equipment education

How to Measure Excavator Fuel Consumption and Calculate Estimated Cost

A practical guide for Jabodetabek users on how to record and calculate excavator fuel (diesel) consumption using a clear hypothetical arithmetic example. No model-specific or market consumption data is given.

JML Group
Illustration of a yellow motor grader at a construction site, with fuel in the foreground.
Heavy equipment illustration. The image shows a motor grader and does not represent a particular excavator model or measured fuel consumption.
Text size

Hypothetical example: This article is designed to help readers in Jabodetabek practically measure excavator fuel (diesel) consumption and estimate costs responsibly, without claiming any specific consumption figure for any machine model. All calculations below are for educational illustration only—you are encouraged to keep your own records in the field.

Why Record Excavator Fuel Consumption?

  • Diesel fuel cost is a major component of excavator operating expenses.
  • Tracking consumption helps owners and operators recognize usage patterns, differentiate productive hours from idle time, and identify opportunities for efficiency or maintenance needs.

Recording fuel fills and machine hours is encouraged by large manufacturers such as Caterpillar to support cost management and maintenance. However, there is no single universal industry standard for how to keep these records. Always use real data from your own equipment. [CAT-FUEL]

Basic Steps to Measure Excavator Fuel Consumption

  1. Fill up the fuel tank before starting work.
  2. Record the starting hour meter position.
  3. Operate the excavator as needed for the job.
  4. After the shift is done (for example, after 8 h), refill the tank to full and note the amount of fuel refilled (for example, 80 L).
  5. Record the ending hour meter position. Calculate total work hours (for example, the difference is 8 h).

Fuel Consumption Calculation Formula

The formula for average hourly fuel consumption:

Fuel consumption per hour (L/h) = Total fuel used (L) / Total work hours (h)

Hypothetical arithmetic example:

  • In one work shift, fuel used = 80 L
  • Total working hours = 8 h
  • Thus: 80 L / 8 h = 10 L/h

Note: These numbers are illustrative only. They are not a reference for any model, type, or working condition. [CALC-01]

Calculating Estimated Fuel Cost

If you know the fuel price per liter (for example: 12500 IDR/L), you may estimate:

  • Total shift cost (for 80 L): 80 x 12500 = 1000000 IDR
  • Cost per hour: 1000000 IDR / 8 h = 125000 IDR/h

This approach is useful when preparing a Bill of Quantities (BoQ) or estimating operational expenses. Note, all volume and price values above are purely for illustration. Actual diesel prices and working consumption rates will vary depending on the excavator’s condition, work type, idle time, and fuel grade.

Factors Affecting Excavator Fuel Consumption

  • Machine maintenance and mechanical condition
  • Operator habits (long idle time increases fuel used without productivity)
  • Type of job (e.g., heavy-duty digging vs. light work)
  • Quality and specifications of fuel

Practical Recording Tips

  • Maintain a logbook (manual or digital) to write the date, starting hour, ending hour, fuel quantity, and job details.
  • Repeat measurement consistently to analyze weekly or monthly trends.

Numbers such as 80 L, 8 h, 10 L/h, 12500 IDR/L, 1000000 IDR, and 125000 IDR/h may appear in illustrations, but should not be assumed as a benchmark for every excavator. Always compare against your own unit’s real-world records.

Limits and What This Article Cannot Tell You

  • This article does not provide recorded consumption for any model of excavator.
  • No claims of efficiency, savings, rental rates, or operational guarantees are made.
  • The calculations shown cannot be used to compare across brands or production years.

Conclusion

Jabodetabek readers can start tracking excavator fuel consumption using this simple approach. Real data from your equipment will help with budgeting, estimating fuel needs, and keeping your machines running optimally.

This arithmetic is for educational guidance only and does not replace field measurements or official manufacturer documentation.

References

We use essential cookies to run this site. With your permission, analytics cookies help us understand visits. You can change your choice at any time.